


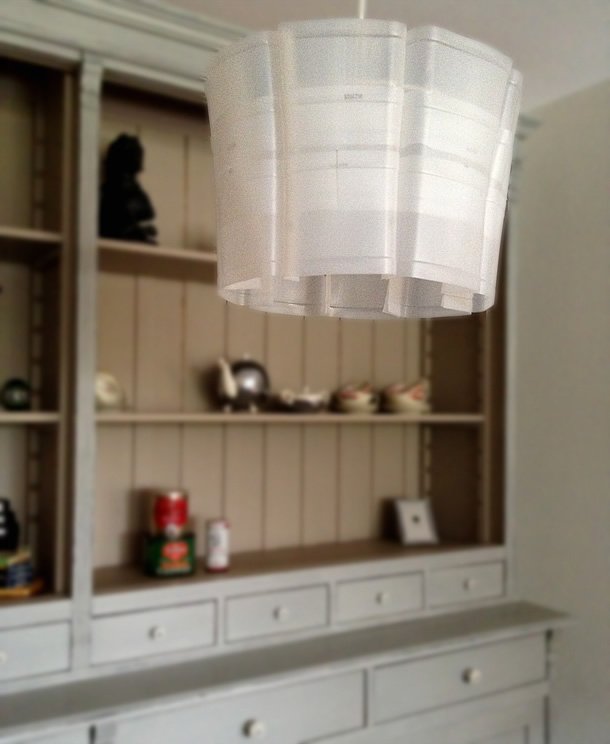
Creating a DIY milk container lampshade is one of the most rewarding upcycling projects you can tackle at home. A few months into my upcycling journey, I challenged myself to collect discarded plastic milk containers—specifically the common 2-litre ones you find in most kitchens—and transform them into something beautiful and functional. The result? A stunning flower-shaped lampshade that casts the most magical light against your ceiling. If you’re looking for an exciting upcycling project that combines creativity with sustainability, this DIY milk container lampshade is exactly what you need.

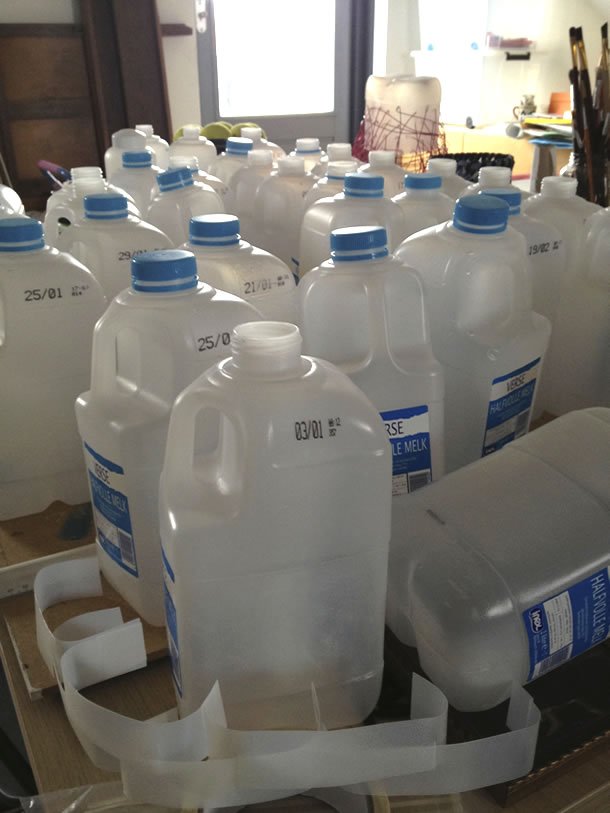
The foundation of any great upcycling project starts with gathering materials. For this DIY milk container lampshade, you’ll want to collect several 2-litre plastic milk containers. Save them from your recycling bin before they head to the landfill. The beauty of using milk containers is that they’re sturdy, translucent, and perfect for creating light-diffusing elements. Clean them thoroughly and let them dry completely before you begin cutting. You’ll be amazed at how many containers you can accumulate over a few weeks if you’re collecting them intentionally.
Cutting and Creating the Scales
The magic of this design lies in the technique of cutting individual scales or shell-shaped pieces from the plastic containers. Using a sharp craft knife or scissors, carefully cut curved, overlapping pieces that resemble flower petals or fish scales. This step requires patience and precision—my first attempts weren’t perfect, but that’s part of the learning process. The trial-and-error phase is actually essential; it teaches you how the plastic behaves and how different cutting techniques affect the final appearance.
Once you have several scales cut, you’ll start to see the potential of your DIY milk container lampshade design taking shape. Each piece is a small victory in the upcycling process.
Assembling the Lampshade Structure
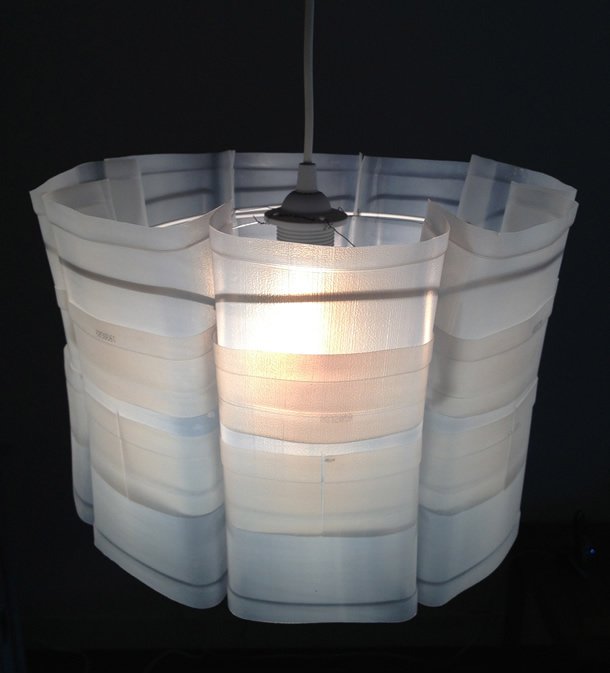
The assembly process is where your design truly comes to life. The cut scales connect to form rings—think of it like building rings of a flower that stack upon each other. Three main rings form the complete lampshade structure. This requires careful alignment and patience, but the results are worth every moment invested.
- Start by connecting your first ring of scales using flexible wire or plastic connectors
- Create a sturdy base for your lampshade to sit on
- Build upward, adding rings to create dimension and height
- Ensure each ring is secure before adding the next layer
- Test the stability frequently during assembly
Installing the Electrical Components
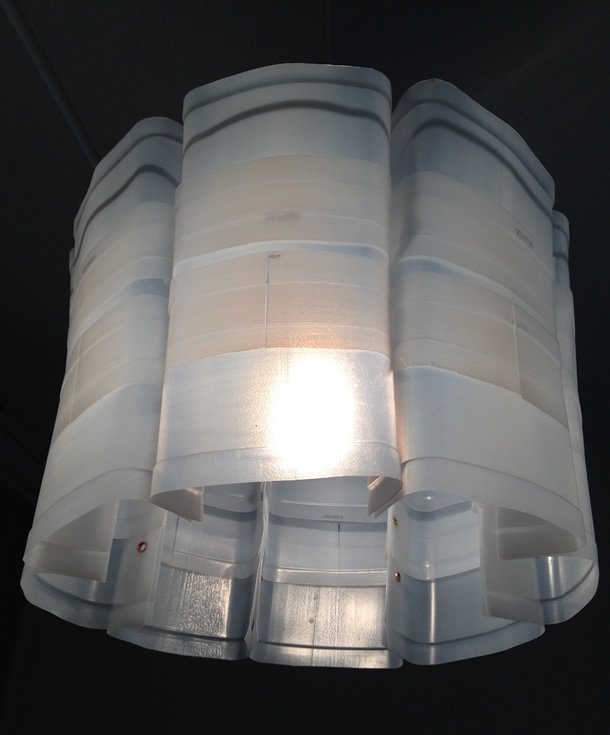
The final technical component involves attaching the lamp bulb socket and electrical cord to your structure. Some thin wires will hold the socket in place within the center of your lampshade. Make sure all electrical work is safe and secure—if you’re not comfortable with wiring, consult an electrician. The goal is to have a fully functional lamp that’s also a stunning piece of upcycled art.
The Magic of Light and Shadow
What makes this DIY milk container lampshade truly special is the beautiful light it throws against your ceiling and walls. The semi-transparent plastic creates a wonderful flower-like pattern of light and shadow that transforms your space. When you turn on the lamp, you’ll instantly understand why this design earned its name—it really does look like a blooming flower made of light.
Moving Forward with Your Upcycling Journey
The best part about completing this project is that the trial-and-error process sparked new ideas. Those plastic milk containers have so much potential! The skills you develop creating this lampshade will open doors to countless other upcycling projects. Keep those containers coming, and stay tuned for more upcycled designs.
Final Thoughts
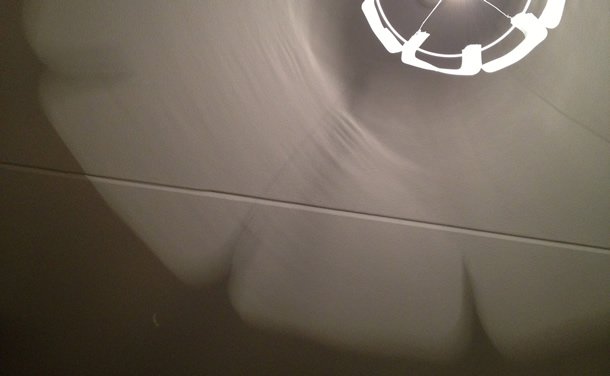
Making a DIY milk container lampshade is genuinely fun and exciting. There’s something special about transforming something destined for the landfill into a functional work of art. The creative process, full of surprises and discoveries, reminds us why upcycling matters—both for our creativity and for our planet.
What do you think of this project? I’d love to hear your thoughts, whether you’re inspired to try it or have suggestions for improvement. Have you attempted any plastic bottle upcycling projects? Share your experience in the comments below!
Design by Gilbert de Rooij
Since you’re here …
I have a small favor to ask. Thousands are visiting upcycleDZINE for upcycle design inspiration every month. Readers in more than 100 countries around the world are now able to support financially.
upcycleDZINE is a completely independent niche site, is very work-intensive, and offers tons of unique information for free.
To keep upcycleDZINE running, I’m asking you for your support.
Your contribution will allow me to:
– meet the hosting costs
– upgrade to keep track of traffic increases
– add new content, and keep improving the older content
– add new functionalities to this site
– improve how it works and how it looks
– and last but not least, my daily dose of coffee 🙂
Again, all contributions will be reinvested into the aforementioned associated costs of running this blog and will help ensure the ongoing quest for quality upcycle design.
Your kindness and generosity will be greatly appreciated and will give me the motivation to continue.
Every contribution, however big or small, is so valuable for the future of upcycleDZINE.
Support today from as little as $2 – it only takes a minute. Thank you.


















Gilbert, great work! Love the organic quality you achieve working with these “petals,” and the softness of the light coming through them!
And I love how clearly you have the eye and the mind of the designer, as demonstrated by two things (in addition to your design skill!): you see, and refer to, the pieces of the milk carton as “scales” or “shells” – and it is this ability to see the components an item is made of that lets you see new possibilities for “composing” with it.
And second, you valued the result of the trial and error, instead of viewing it as wasted time, because it gave you new ideas. 🙂
Thanks for sharing your work . . .
And thank you for your kind and wonderful words. This gives me the feeling of being on the right track!!!
You definitely are – keep it up!
Thank you. I'm working on a another design also made out of milk cartons.
Wonderful up cycle example 'Milkflower'.
Used milk cartons turned into a lampshade that brings a flower.